Step 2 of these burning instructions assumes the following things:
- You have already setup the Sintendo directory properly
and know where it is on your hard drive. For full instructions
on how to do this, see Step 1: Setting
up Directories for Sintendo Beta v0.10.
- You wish to create a non self-booting copy of Sintendo
that is multi-session compatible.
- You already have a Utopia Dreamcast CD Loader.
- You have downloaded and installed Nero.
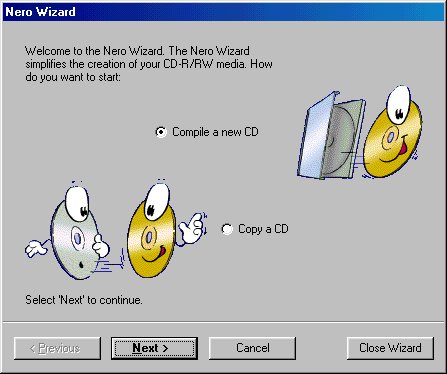
These instructions provide the methods for making a non self-booting
version of Sintendo. The non self-booting copy of Sintendo requires
the Utopia Dreamcast CD Loader to load Sintendo properly. It is,
however, compatible with multi-sessioning and the contents of the
disc can be changed after the burn (i.e. the executable may be replaced,
useful for version updates).
The steps to burn Sintendo with Nero are pretty straightforward.
Begin by running Nero. If the wizard screen appears (seen below),
simply hit the Close Wizard button to get rid of it.
This screen, if it pops up, is relatively useless for burning Sintendo.
Hit Close Wizard in the bottom right corner to close it.
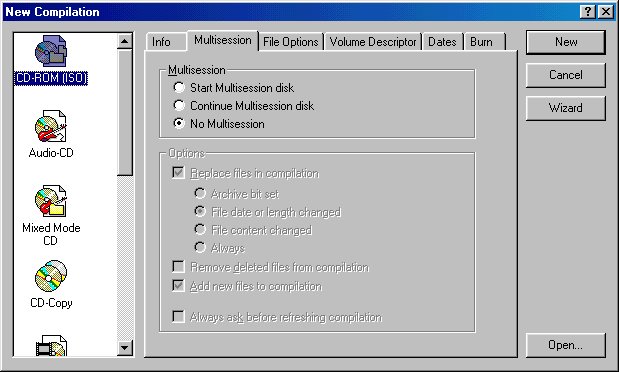
Most likely, the following screen will pop up, which
is far more useful. If it does not, click File from the menu
and select New...
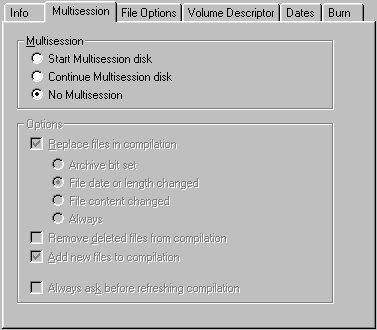
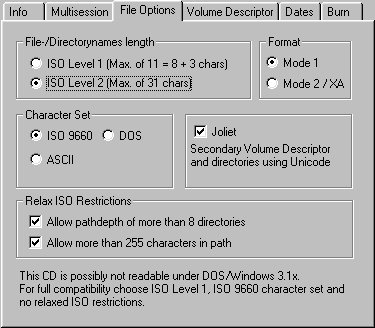
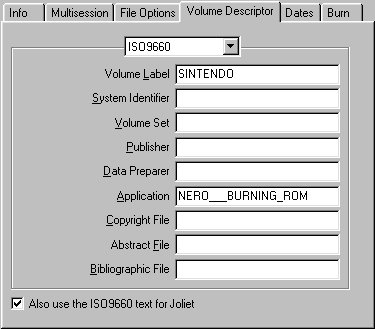
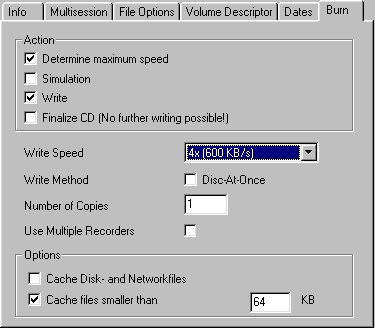
Make sure that the item selected on the left says
CD-ROM (ISO) as is shown above. Now, go through the tabs,
making sure that they are set to the proper settings, as is shown
in the following diagrams:
For the first burn to a CD, select No Multisession.
Worry not, this will not prevent you from multisessioning at a later
date.
Under File Options, set all of the setting as shown above.
Most important are (in order): Mode 1, ISO 9660, and ISO
Level 2 (Max of 31 chars)
While not neccessary, I always set the Volume Label to "SINTENDO"
Some of the Burn settings are more important than others.
Determine maximum speed is recommended but not neccessary.
Simulation should not be selected.
Write should be selected.
Finalize CD (No further writing possible!) should not
be select
Write Speed can be any speed up to the maximum speed of your
burned (slower is safer).
Write Method should not be checked
Anything else may be change only if you know what you are doing
and why.
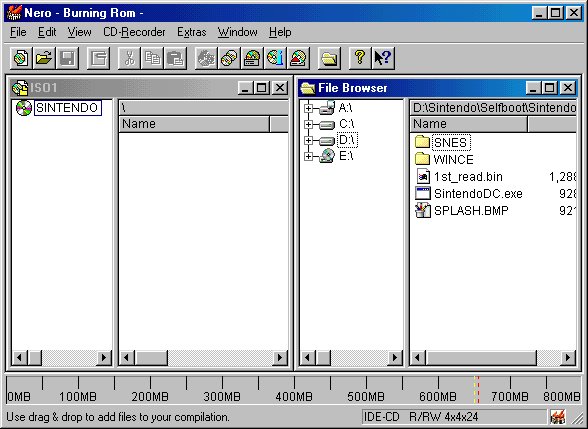
Once you are sure all of your settings are correct, click the New
button on the right. Nero will open a new ISO window with the volume
label you selected, and a File Browser window. (If the File
Browser window is not open or visible, click the New File Browser
button
or select View > New File Browser from the menu).
Use the File Browser to find your Sintendo directory and
open it. Your Nero window should look something like this:
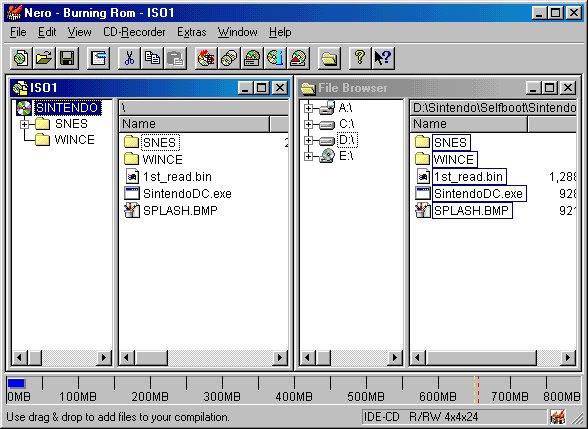
Select all of the files and directories in your Sintendo
directory and drag them over to the ISO window:
You are now ready to burn. Click the Write CD button
on the toolbar or click File > Write CD... from
the menu. The Write CD dialog will appear and you will have
an opportunity to change any settings you wish before clicking Write.
Make sure all of your settings are correct and then click Write.
If you have not done so already, it will ask you to insert a blank
CD at this point, then it will begin the burning process, which
can take anywhere from 80 minutes to no time at all, depending on
the speed of your burner and the size of your Sintendo directory.
When the burn process is complete, the CD should eject.
Put your Utopia Dreamcast CD Loader in your Dreamcast
and boot it. When it asks your to insert a game CD, open the tray
and replace the CD Loader with your freshly burnt Sintendo CD and
enjoy.
You have now (hopefully) successfully burnt
a Sintendo CD. Congratulations.
If any of the steps here do not work for you or your
finalized copy does not load correctly after the Dreamcast CD Loader,
go to the Burning Problems forum of the Sintendo forums and state
the specific nature of your problems so that someone may
be able to help you.
|